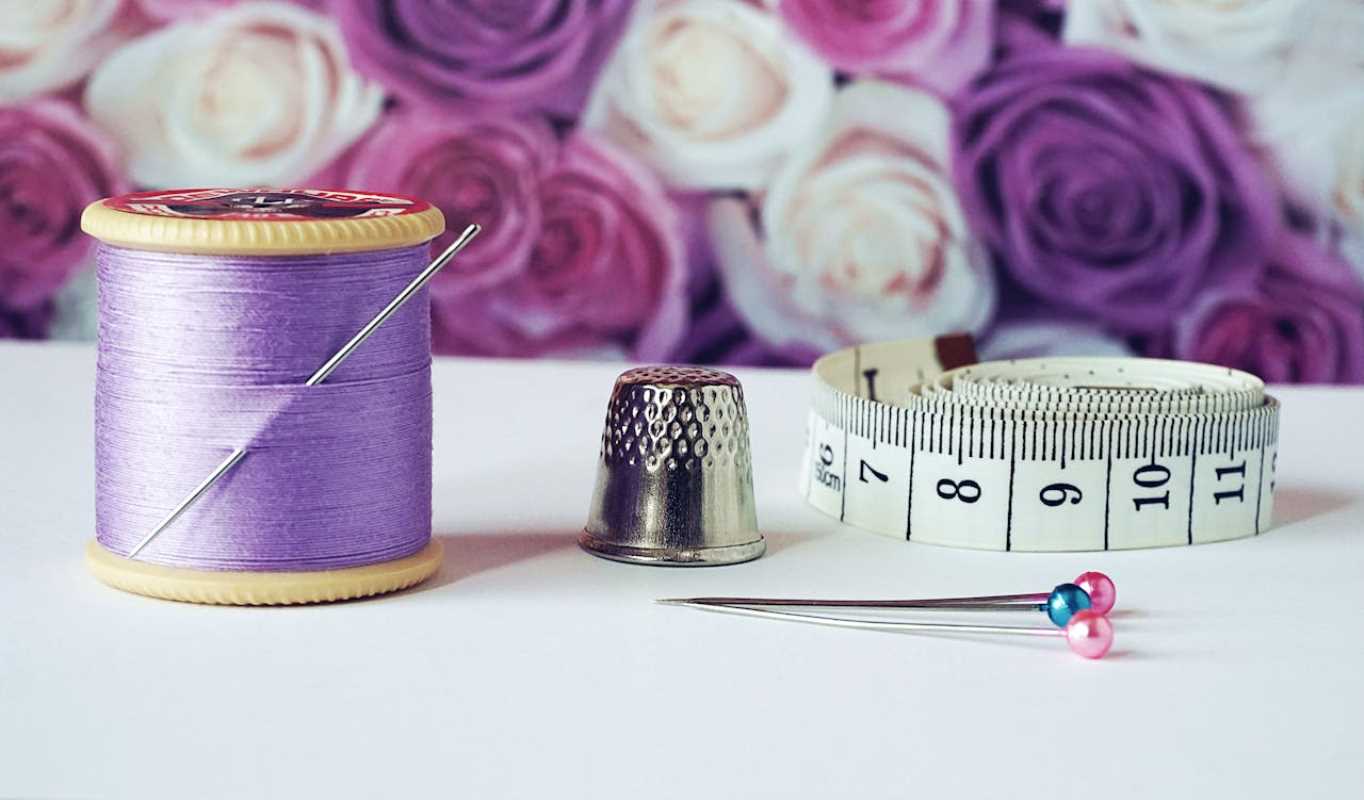
 (Image via
A loose button on a favorite shirt or a small tear in a pair of jeans often means one of two things: a trip to the tailor or banishment to the back of the closet. What if you could solve these minor wardrobe issues yourself? Learning a few basic sewing skills is an empowering act of self-sufficiency that saves you money, reduces waste, and helps you care for the things you love. This isn’t about becoming a master seamstress overnight. It’s about gaining the confidence to handle simple repairs and alterations. We’ve got you covered with a guide to the essential sewing skills that everyone can, and should, learn. This article will walk you through these practical techniques and show you how they can make a real difference.
The Power of a Needle and Thread
In an era of fast fashion and disposable goods, the simple act of mending something can feel revolutionary. Possessing basic sewing skills reconnects you with your belongings and empowers you to be a more conscious consumer. The benefits extend far beyond just fixing clothes; it’s a practice in mindfulness and sustainability.
Saving Money and Reducing Waste
Think about how many times you have thrown away a piece of clothing because of a minor flaw. A small hole, a fallen hem, or a missing button can render a perfectly good garment unwearable. Professional repairs can be costly, sometimes even more than the item's original price. Learning to do these simple fixes yourself can save you a significant amount of money over time.
Beyond the financial savings, you will be making a positive impact on the environment. The fashion industry is a major contributor to landfill waste. By repairing and extending the life of your clothes, you are actively participating in a more sustainable lifestyle. Each seam you mend is one less item in a landfill, a small but meaningful step toward reducing your carbon footprint.
Building Confidence and Self-Sufficiency
There is a unique sense of accomplishment that comes from fixing something with your own hands. Mastering a new practical skill like sewing builds confidence and fosters a sense of self-sufficiency. You are no longer dependent on others for simple repairs and can take pride in your ability to care for your own possessions.
This confidence can spill over into other areas of your life. The patience and problem-solving involved in sewing can enhance your focus and attention to detail. It is a quiet, meditative activity that allows you to slow down and create something tangible. This newfound capability is incredibly empowering and rewarding.
Essential Skill #1: Sewing on a Button
One of the most common and frustrating wardrobe malfunctions is a lost button. This is perhaps the easiest and most essential sewing skill to learn. It requires only a needle, thread, and a few minutes of your time.
What You Will Need
To get started, you will need a few basic supplies: a needle, thread that matches your garment or button, the replacement button, and a pair of scissors. For buttons with four holes, a toothpick can also be a helpful tool to create a small shank for a more secure fit.
Step-by-Step Guide
- Thread Your Needle: Cut a piece of thread about 24 inches long and thread it through the eye of the needle. Pull the ends so they are even, and tie them together with a small, secure knot. This creates a double thread for extra strength.
- Position the Button: Place the button over the spot where the original one was. Look for the small holes left by the previous stitches to guide you.
- Start Sewing: Push the needle up through the fabric from the back, and then through one of the holes in the button. For a four-hole button, you can place a toothpick across the top of the button and sew over it. This creates a little space, or shank, so the button isn't too tight.
- Create Your Stitches: Go back down through the opposite hole and through the fabric. Repeat this process about six times, creating a secure hold. For a four-hole button, you can sew in a parallel or crisscross pattern.
- Finish It Off: After your last stitch, bring the needle up through the fabric but not through the buttonhole. Wrap the thread tightly around the stitches under the button six times. This creates a strong shank. Finally, push the needle back through to the underside of the fabric, make a few small stitches to create a knot, and snip the thread.
Essential Skill #2: Mending a Seam
A split seam on a pair of pants or a dress can happen at the most inconvenient times. Knowing how to quickly and discreetly mend a seam will save you from potential embarrassment and salvage your garment.
The Right Stitch for the Job
The best stitch for repairing a seam is the backstitch. It is one of the strongest hand stitches and closely resembles the look of a machine stitch, making your repair sturdy and neat.
How to Do a Backstitch
- Prepare Your Garment: Turn the garment inside out and iron the seam flat if possible. This makes it easier to work with.
- Thread and Knot: Use a single thread and tie a knot at the end.
- Begin Stitching: Push your needle through the fabric from the back, about a quarter-inch before where the seam has split. Pull the thread all the way through.
- Create the Stitch: Make one stitch forward, then bring your needle back to your starting point and pull it through. Now, move the needle forward twice the length of your first stitch and pull it through the fabric.
- Repeat the Process: Bring your needle back to the end of the previous stitch and pull it through. Continue this backward-and-forward motion along the entire length of the open seam. Each stitch should be small and even.
- Secure Your Work: Once you have closed the gap, make a small knot on the inside of the garment to secure your thread and trim the excess.
Essential Skill #3: Hemming Pants or Skirts
Pants that are too long can be a tripping hazard and look untidy. Learning to hem your own clothes allows you to get a custom fit on any garment, from jeans to dress slacks. The blind hem stitch is perfect for this, as it is nearly invisible from the outside.
Prepping for a Perfect Hem
The key to a good hem is proper preparation. Put on the garment with the shoes you plan to wear with it. Have a friend help you fold the excess fabric under and pin it in place to your desired length. Use a measuring tape to ensure the hem is even all the way around. Trim the excess fabric, leaving about one to one-and-a-half inches for the hem allowance, and press it flat with an iron.
Executing the Blind Hem Stitch
- Fold and Press: Fold the raw edge of the fabric under by about half an inch and press it. Then, fold the hem up to your pinned line and press again.
- Thread Your Needle: Use a single thread that matches your fabric and tie a knot at the end.
- Start Your Stitches: Hide your knot inside the folded hem. Pick up just one or two threads from the main fabric of the garment with your needle.
- Move to the Hem: Next, move your needle diagonally and take a slightly larger stitch through the folded edge of the hem.
- Continue the Pattern: Repeat this process, alternating between a tiny stitch on the garment and a slightly larger one on the hem. The key is to grab as little of the main fabric as possible so the stitches are invisible from the outside.
- Finish Up: Once you have worked your way around, tie a small, discreet knot inside the hem and trim your thread. Give your new hem a final press with the iron for a crisp, professional finish.